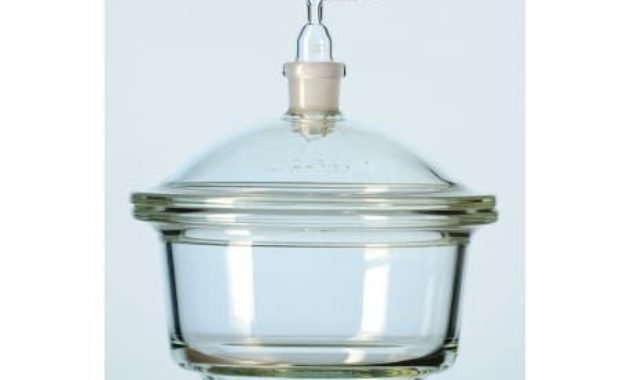
What is desiccator and its function ?
Now we will discuss a laboratory tool that is no less familiar, namely the laboratory desiccator. The topics that we […]
Now we will discuss a laboratory tool that is no less familiar, namely the laboratory desiccator. The topics that we […]
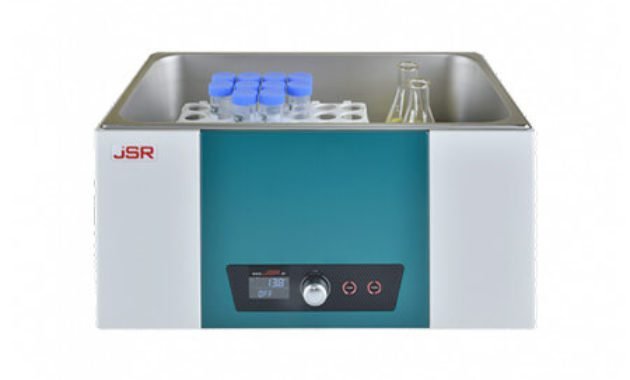
Water Bath is one of the laboratory equipment that is included in the classification of laboratory instrumentation. The use of

Definition and function of universal indicators – In measuring pH many methods are used by researchers in conducting research. One
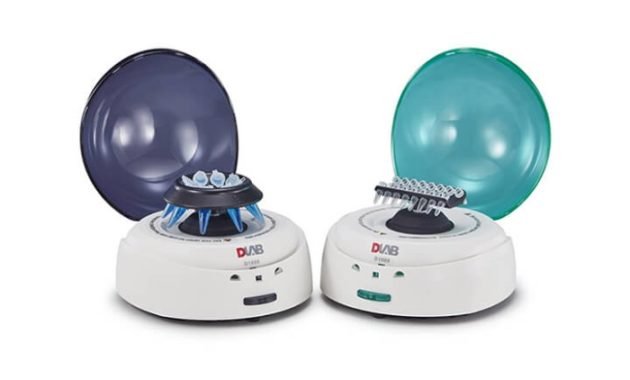
When you are in the laboratory, you must have tried the activity of separating a solution into its constituent substances.
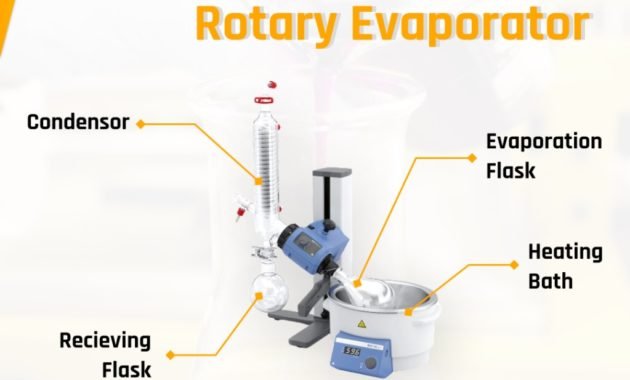
Rotary Evaporator: Working Principles, Uses, and Functions – In testing chemical substances, generally, we will carry out several reaction activities.
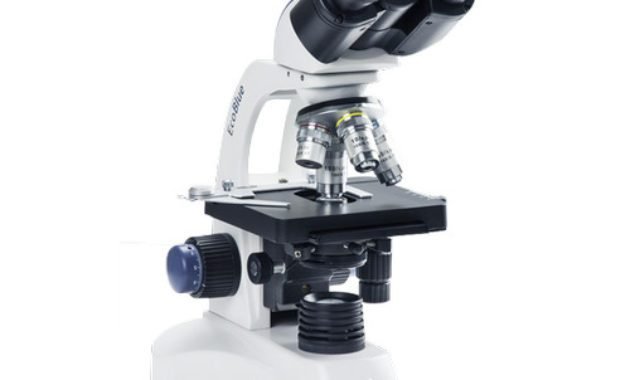
The microscope is an important part in the laboratory, but do you already know all the parts of the microscope
This distilled water is something that is commonly found, many people have used this water. Especially in the laboratory. So